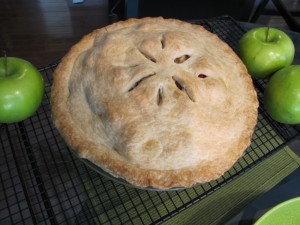
Apple Cranberry Walnut Pie…Sweet, Juicy, and Delicious!
By Jodee Weiland Last Thanksgiving I needed another pie for dessert fast, so I went over to the store to see what was available. I saw an apple cranberry walnut pie for sale and thought what a great idea, so I bought one. It was delicious, but I couldn’t help but think how much better